How To Add a TPA User Account
Third party administrators (TPAs) and payroll service providers will be required to register a TPA account in MyUI Employer+ in order to file wage reports, pay premiums and conduct other UI business on behalf of their employer clients. TPA account administrators will register the TPA account, then invite additional users to register, access, and manage the account inside MyUI Employer+.
Creating A New TPA User Account
Step 1. Create a New User
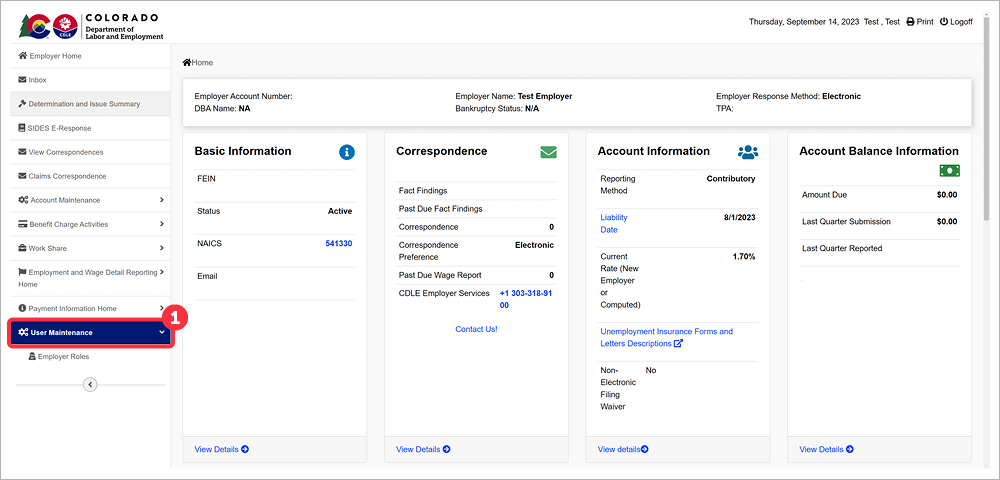
- Click "User Maintenance" in the left-hand navigation menu.
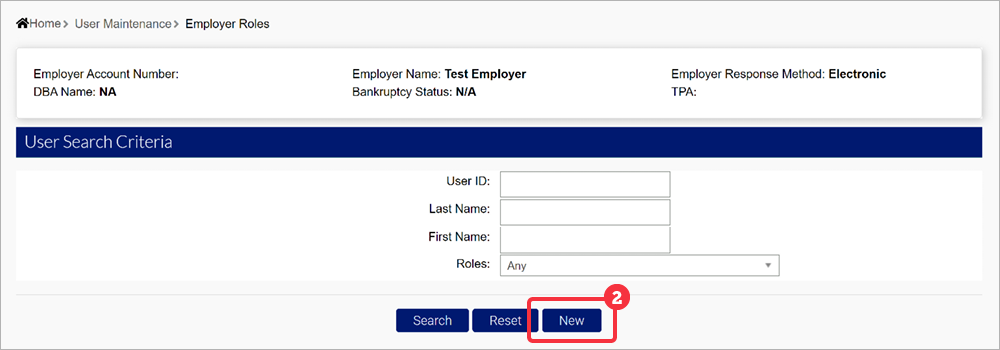
- Click "New’ to create a new user account.
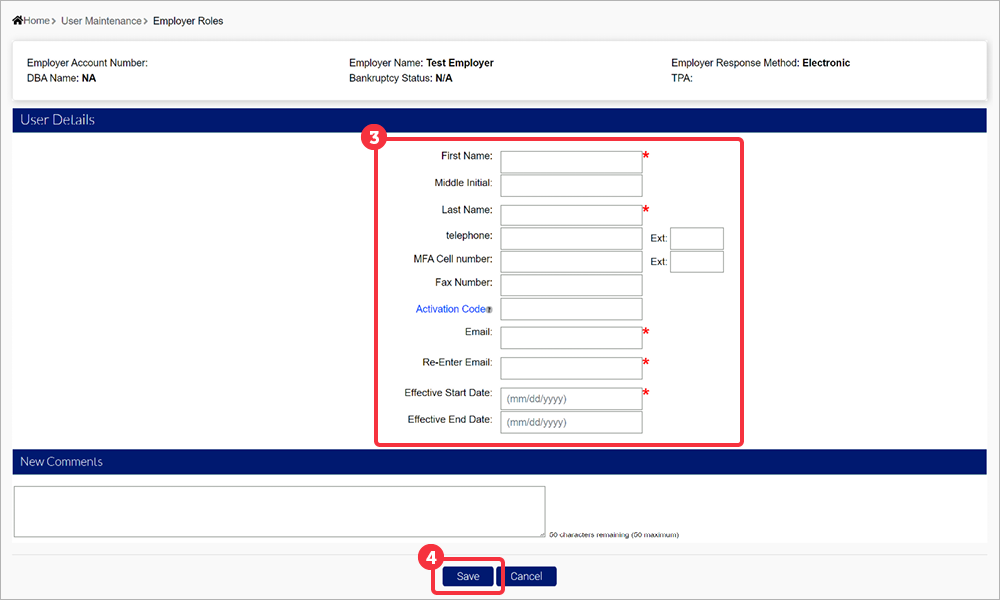
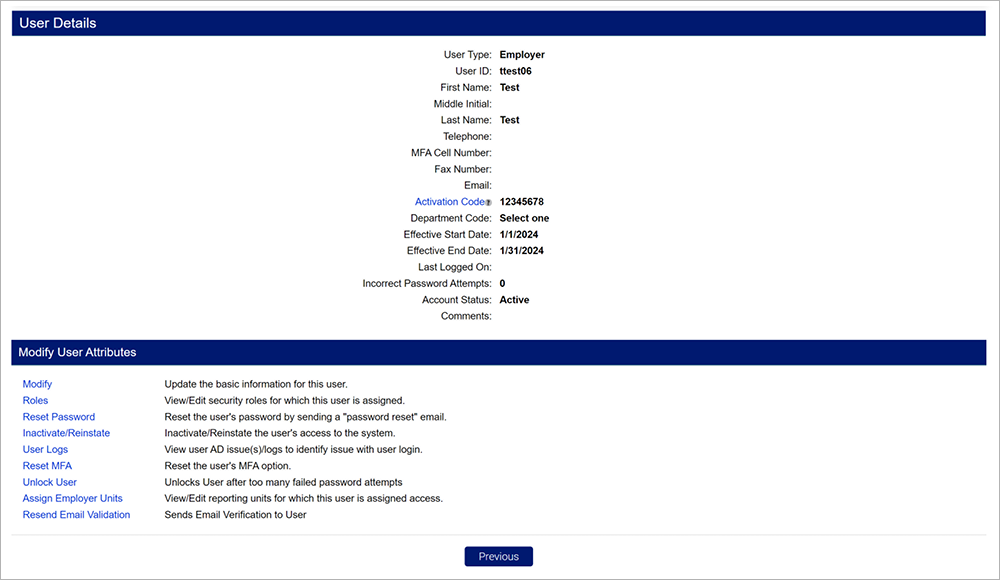
- Enter the required personal information for the new user:
- First Name - The new user’s First Name.
- Middle Initial - The new user’s Middle Initial.
- Last Name - The new user’s Last Name.
- Telephone - The new user’s phone number.
- MFA Cell Number - The new user’s phone number will populate if they select the telephone option when setting up their MFA.
- Fax Number - The new user’s fax number.
- Activation Code - The Activation Code is an 8-digit numeric entry of the Administrator’s choosing. This number will need to be provided when the new user is setting up their account.
- Email - The new user’s email address.
- Confirm Email - Re-type the new user’s email address.
- Effective Start Date - The date the new user’s account will be available.
- Effective End Date - The date the new user’s account will no longer be available.
- Click "Save".
Step 2. New User Account Access
Once the new user account has been added, the user will receive an email containing their User ID and a link to create their password.
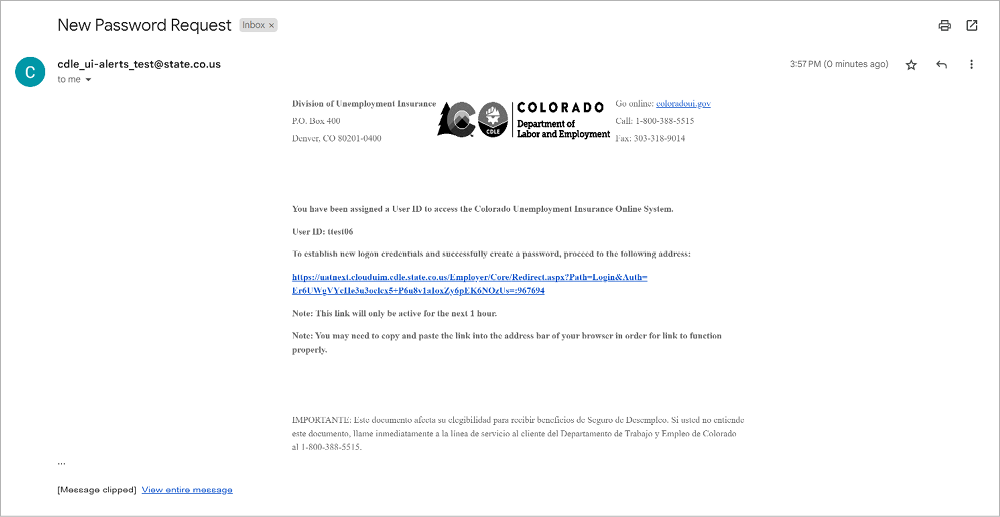
The new user should click the emailed link to be redirected to MyUI Employer+ and enter the activation code provided by the account administrator.
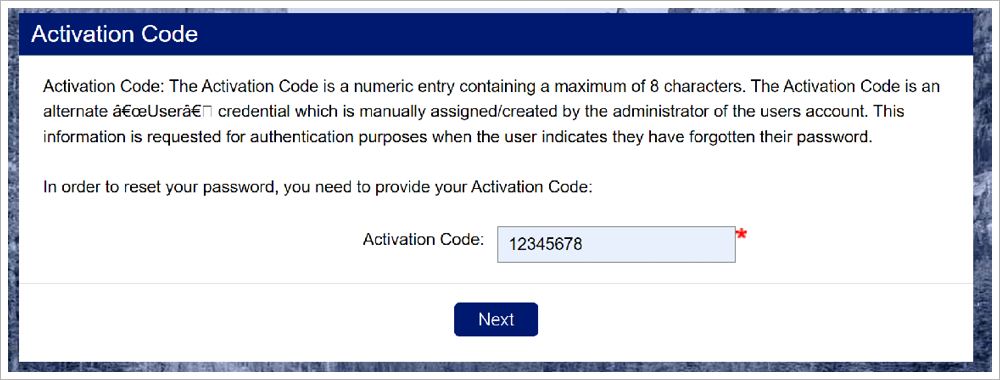
The new user should enter the activation code and click “Next”.
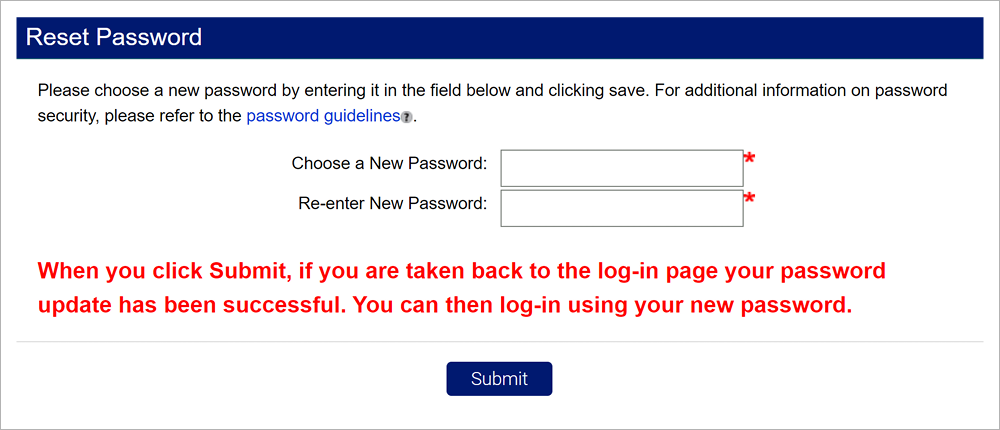
The new user will be required to create a new password. The tooltip includes password guidelines.
Enter the new user password in the fields provided and click “Submit” to be redirected to the MyUI Employer+ login screen. Note: User account passwords must be reset every 130 days.
Step 3. Assign New User Roles
The account administrator will need to assign roles in order for the new user to access features in the account.
- Search for the new user account to add or edit roles.
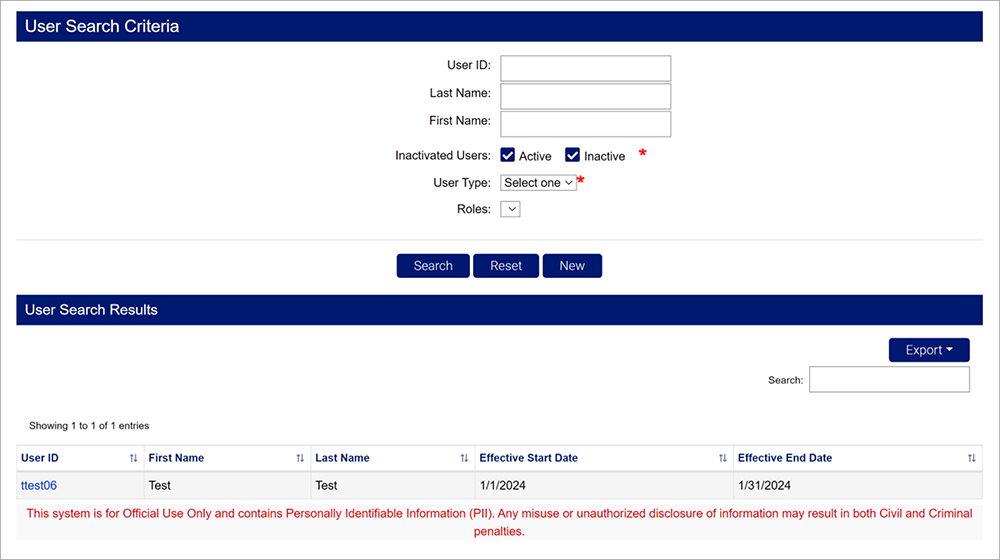
- Click the user ID hyperlink.
- Click the “Roles” hyperlink on the user profile.
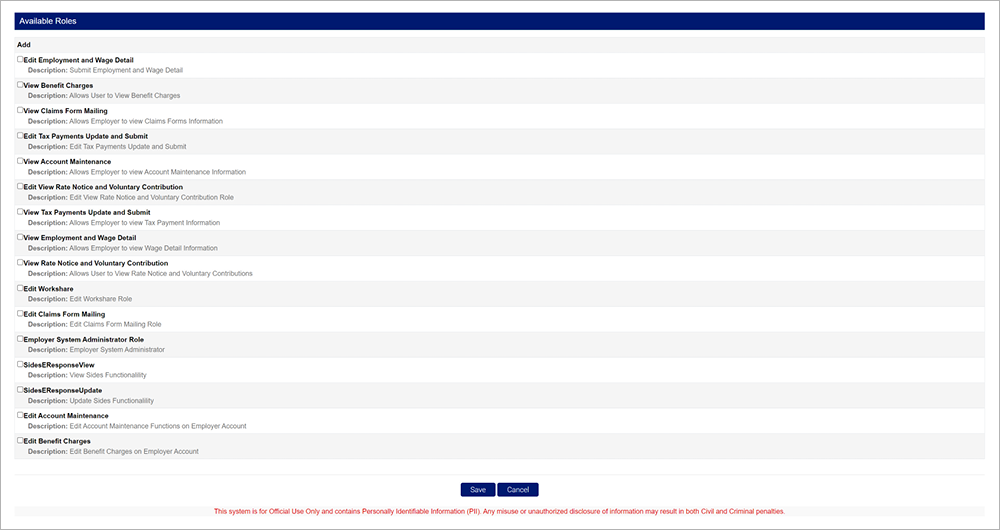
Account administrators may select any available roles to add to the new user account. Roles listed include descriptions of the actions the new user can take when that role is added to their profile. Multiple users can be assigned to any role.
- Select the roles needed for the new user account.
- Click “Save” to assign the roles to the new user account.